"I love my cats because I love my home, and little by little they become its visible soul." Jean Couteau

Saturday, February 18, 2017

continuing carpet removal

I'm not a big fan of carpet. Sure, it feels nice and soft and warm on your toes, but it gets dirty so easily and is hard to clean. The carpet in our house is covered in stains, and it's only 6 years old. Maybe that's unusual, and we're just extra dirty people, but either way, our carpet is still gross. And so I'm on a slow crusade to rid my house of it. Some areas are a bit of a battle since Zach does like carpet. However, this year I convinced him to get rid of it on our entryway stairs. Those stairs connect our first floor entryway, which is tile, with our second floor hall/living room/dining room/kitchen, which is hardwood. It always seemed a little weird to me to have carpeted stairs connecting two areas that were not carpeted. This argument eventually wore Zach down. I made plans, ordered material, and Zach and I pulled up the carpet and staples. Then we waited for reinforcements, i.e. my dad.


My parents came to visit for 4.5 days on their way down to Florida, so my dad could help me. We got started on Wednesday with a trip to Home Depot for liquid nails, plywood and saw horses for making a work table, and a giant miter saw that I tried to tell my dad we didn't have room to keep. However, it did turn out to be extremely useful - more on that later. I had also borrowed a regular miter saw and table saw from my awesome tool buddy.

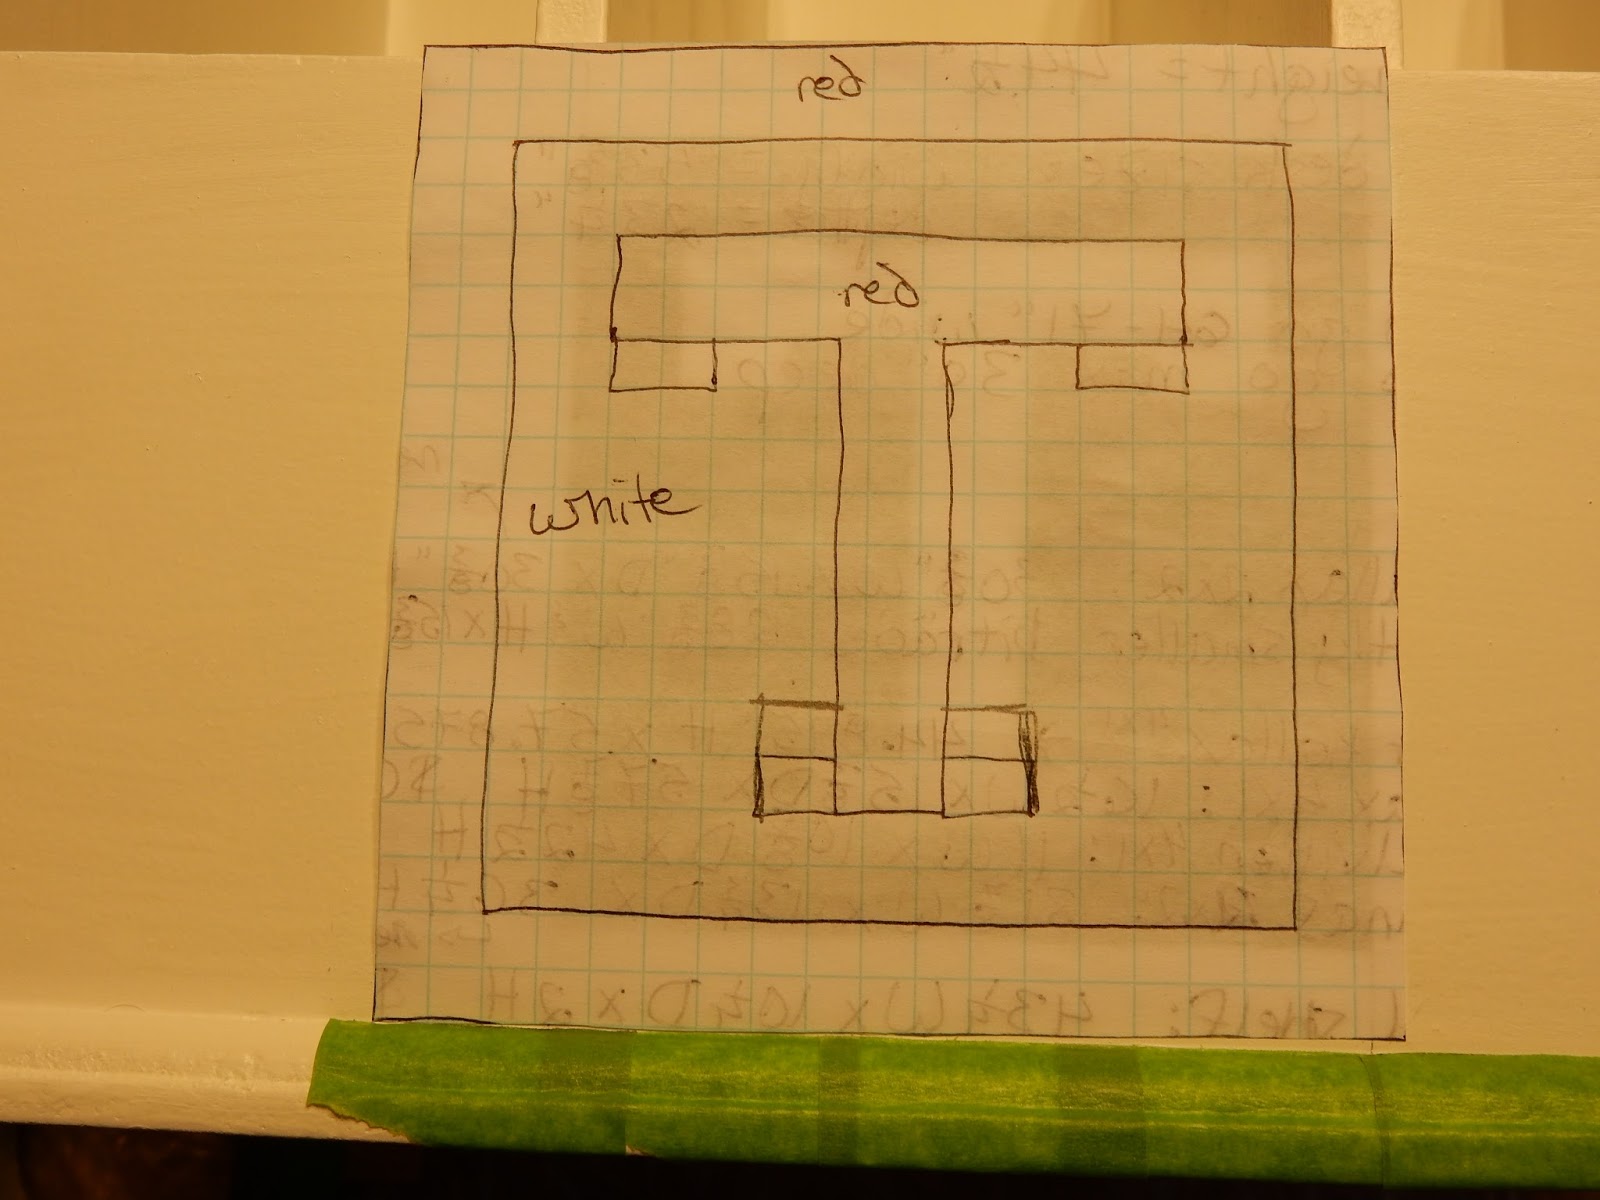
Our stairs curve around near the top. We wanted the flooring on the stairs to continue to line up with the same direction as the floor they would meet. That's how we did it for our previous little stair project. This meant that, for the main part of the stairs, the boards would go straight across, but for the top few stairs and landing, the boards would need to be at a 45 degree angle. My dad tried to talk us into doing all the stairs with the boards just straight across, which would be easier. We thought that would have been OK if we had done the other stairs that way, but since we'd done them to line up with the hall flooring, we wanted these to match up too.

On Wednesday, after our shopping trip and getting all the saws set up, we got to work getting the stairs prepped for installing the risers. The existing stair treads had noses, which we needed to cut off so the risers could sit flush with the top of the tread. My dad had brought a small circular saw, which we used to do the majority of the nose cutting. Then he had a multi-tool with a cutting blade that we used to trim off the rest that was too close to the wall for the circular saw. I moved up the stairs cutting with the circular saw, and Dad came behind me with the multi-tool. This sped things along quite nicely. 


Next came the riser install. The stock risers I'd gotten from Home Depot weren't quite the right size, so we had to trim them down. Dad worked on that, while I ran back to Home Depot for semi-gloss super white paint to paint them with (I'd thought I had some, but it turned out to be a dried-up mess). By the time I got back, Dad had started gluing and nailing the risers in place, and I went behind painting them. With this teamwork, we got all the risers installed and painted the first day. 

Thursday morning, we started on the 'easy' landing. This was the first landing as you come up the stairs, so the boards would just be going straight across. It was still tricky, though, because the landing isn't just a square, so there was a lot of measuring and cutting angles. That one landing took us all morning. After lunch, we started on the easy steps. Just ignore the surrounding steps in this photo; I didn't take a picture of this landing until everything was done.


My dad had the idea that it would probably be easier and faster to assemble the steps a little large in the garage, glue them up, then cut them to the exact size, and install them on the stairs. The nosing came in 72" lengths, so we cut them in half, leaving us about 5" more than we needed for the stair width. We cut flooring boards to fit in. For the depth of the stairs, we needed about 3 and 1/3 board widths. After the first couple steps, we got into a rhythm of Dad cutting the flooring, while I glued the steps together. When we ran out of places to build new steps, we went back to the first one we had assembled to cut it to width and install it.

Dad had built a jig to measure the non-squareness of the stairs. We'd place the jig on the stair, expand it to the correct length, adjust the end angles to line up with the walls, then tighten everything down. Then we'd take the jig back to the garage and line it up on the assembled step, tracing the edges to know where to cut. Most of the stairs were pretty close to square, so we maybe didn't really need the jig, but if they hadn't been as good, it would have been super helpful. And it was still useful. 


After cutting the step, we glued it down with Liquid Nails and put a few 18-gauge nails in. We installed every other step, so we could go up and down the stairs relatively easily without walking on the new treads while the glue was still setting. In this way, we finished up Thursday with all the 'easy' steps assembled and half of them installed.


Friday morning, we got to work on the 'hard' stairs. There were 3 of these, plus a landing. We had actually assembled the first step on Thursday, but it took a long time to dry. We needed it super dry so we could cut a tongue into the edge. Since we had cut all the boards at an angle, the front no longer had a tongue or groove, and we needed a tongue to fit into the groove of the nosing. We cut a tongue very carefully using the table saw. It took awhile, but eventually we got it cut, attached to the nosing, and the whole thing installed on the stair. We assembled the other other 2 'hard' steps and brought them in the house to let the glue cure in a warmer environment than the garage. 


Those seemingly few items took us all morning. Over lunch, we discussed our plan of attack for the 'hard' landing. Those boards would also be cut at an angle, eliminating the necessary tongue to fit into the nosing. It would be a lot harder to do any sort of precision assembly and then cut a tongue into those pieces. However, my awesome tool buddy had also given me some splines, which fit into a flooring groove, turning it into a tongue. We figured we could use those to turn the groove in the nosing into a tongue, then get a router to cut grooves into all the angled step pieces. Of course, this meant another trip to Home Depot, but it was totally worth it because this tactic worked great. We cut all the initial angle pieces and grooved them up and dry-fit them in place, so we could measure the rest of the pieces needed. With all the angles of the landing, this took the rest of the day, but we managed to get the landing all glued and nailed in with even a couple of hours left for relaxing before bed.


Saturday, we started with one of the 2 remaining 'hard' steps, routing a groove in the front, attaching it to a nose, cutting the assembled step to fit, and filling in extra triangle bits in the corner. We didn't do the last step since we were trying to keep to an 'every other step is new with the glue curing' philosophy to make it a little easier to go up and down the stairs without stepping on stairs that hadn't had 24 hours to cure. 


Next, we started looking at the very bottom step. It had been curved, but in all my searching, I hadn't found anything that I felt sure would work to maintain the curve, so we decided to square it off. However, if we just boxed off the existing riser, Zach and I were concerned it would stick out rather far, increasing the risk of us running into the pointy corner. We weren't sure exactly how the curved riser was constructed, but my dad agreed to just start cutting into it and see what happened. It wasn't solid and broke apart pretty easily. Unfortunately, cutting it out seemed to severely reduce the structural integrity of that end of the step. My dad built a little box out of a 2x4 I had lying around to fit snugly under the tread to provide support. We cut the front riser to length, then used more riser pieces and other scrap wood to build out the remaining 2 sides of the box to the correct depth, while adding surface area for the tread to rest on. 


While Dad got to work figuring out the cuts for the nosing to make perfect 'picture frame' corners at not perfect 45 deg angles, I went back to installing 'easy' steps. We had 5 rough-cut assembled steps that needed to be cut to size and installed. These 2 tasks took us the rest of the day. My part should have gone faster, but Friday I had started getting a cold that had become much worse by Saturday afternoon and had me taking frequent rest breaks. Still, it was good teamwork, splitting up the jobs to get everything done before my parents were scheduled to leave Sunday afternoon. We got the rest of the 'easy' steps installed, and Dad got the first step nosing cut and the glue started curing with a make-shift clamp made out of rubber bands!


Sunday morning we hurried to finish up before Mom and Dad had to leave. I got to work on the last 'hard' step, measuring, cutting, and filling in the corner. Dad measured and fit boards for the first step. We got it all done in just an hour or two and even got the garage all cleaned up before it was go time! 


Of course, things still weren't done. I had to spackle and repaint a bit of wall where the drywall had gotten torn when we cut up the rounded first step. For this, I was extremely grateful for the spreadsheet I started a few years ago, where I listed what paint colors are where in the house, so I knew which light brown paint to use! Then there was caulking all the open seams between risers and walls. I had to measure and get some shoe moulding for around the first step and on the 2 landings and nail that in. Finally, most of the risers needed some touch-up paint where they'd gotten scuffed during step installations. I left all that for the next weekend, when my cold had gone away. 


Before Caulk

After Caulk

And now it's all done! And it looks super awesome, if I do say so myself :-) Huge shout-out to my dad for all his help! 


Monday, January 30, 2017

geeked-out stocking

In my family, we all had our own, special Christmas stockings. My dad had an extra long, fuzzy red one; my mom had her blue one with an angel from when she was a child; my sister had a quilted one with a gingerbread man; and I had a quilted one with a rocking horse. Zach has a standard, store-bought, fuzzy red and white one. He used gold puffy paint to write his name on it. Even though it's personalized a bit, I always think it's sad. I feel like everyone should have a super special Christmas stocking. So this year, I decided to make Zach a new stocking for Christmas. I wanted it to show his interests, so, of course, I thought movies/TV. I found some fabrics for various Marvel and DC characters and a few related to Doctor Who (Tardises and Daleks). But he has so many fandoms, I didn't know which one to pick. Then I found this fabric from spoonflower.com. They have a whole search category for "geek"! 


This has images from Doctor Who, Star Trek, Hitchhiker's Guide to the Galaxy, Star Wars, and more that, I'm sad to admit, I can't identify. I bet Zach can, though! I ordered two "fat quarters", one for the front and one for the back of the stocking. I got some plain green fabric for the lining and used some red micro-fleece leftover from a long-ago project for the cuff. 

I found various instructions online, but none had a pattern, so I traced my stocking, then made it an extra inch around all sides and about four inches taller. Initially, I drew the pattern on old newspaper, but that wasn't big enough for the expansions I wanted to do, so I used that pattern to trace onto part of a cardboard box. I used that to trace onto all the fabric. I also traced out some interfacing I found in my fabric drawer, to give the whole thing a little more substance, though after the fact, it probably wasn't really necessary.


I mostly used these instructions from Centsational Girl, but I found them a bit lacking when I got to adding the cuff. I'll talk more about that later. Following these, I sewed the geek fabric, the interfacing, and the green fabric together, right-side out, with a 1/4" seam. 


Then I sewed the front and back pieces together, right-sides facing each other, with a 1/2 inch seam.

 
Next came the tricky part -- adding the cuff. I found this DIY tutorial that had a little more info on sewing the cuff, but it still wasn't super descriptive. I think I did this part three times. Then I decided it would be best to sew the hanger loop inside the cuff, so I had to pull out part of it a fourth time. I started by cutting my fabric twice as wide as I wanted the cuff to be and a little more than twice as long as the stocking was wide. Then I folded it in half, with the good side out, and fit it around the stocking. This was kind of tricky due to the seams in the stocking. I just did the best I could. Then I sewed the cuff to the stocking. When I got to the side where the hanger loop would go, I stuck that in to sew it between the stocking and the cuff. I know that's not very good description of the process, but it's the best I can do from memory at this point.


Finally, I had a finished stocking! Zach thought it was cool; however he couldn't identify all the symbols, so I'm not sure he should be allowed to keep it :-p He liked that it's bigger than his old stocking, though he thinks that now he gets to have both. I told him one stocking full of candy is enough!


Saturday, October 22, 2016

coralling cookbooks

This is a project that has been vaguely in the works since July and stewing in my head since the beginning of June.

My grandma died at the end of May. Zach and I flew out for the funeral and I was able to pick out a few things of hers to keep (after my mom put in a heroic effort cleaning out her apartment!). One of these things was a box for holding cookbooks. I thought it was nice-looking and would help neat-ify the counter area where we keep cookbooks and loose recipes.


Of course, the box was too big to go in our carry-on suitcases, so my parents took it (and most of the other things we were getting) home with them. They brought some of it with them when they drove out to visit in July.


I liked the bird pictures on the front, but not the distressed look everywhere else. I'm more a fan of clean lines than distressing. My initial plan was to preserve the bird with a little off-white frame around it and paint the rest of the box the same red as our dining room. The color would go with some of the red in the bird picture, plus I still have a good amount leftover, so I wouldn't have to buy any new paint.


Unfortunately, as I put the painter's tape over the bird picture, then pulled it up to try to straighten it, I discovered that the picture wasn't painted on. It was some sort of pressed-on image, and when I pulled the tape off, it pulled a thin layer of the image with it. This meant I wouldn't be able to preserve the bird, and I needed a new plan. My plan was only partially-formed when I started work. I decided to still paint the box red, but I wanted some sort of design in white on the front to give it a little more interest and character. Only I didn't know what sort of design to do. Most of the ideas I came up with involved circular patterns, which I thought would be too hard to implement well with rectangles of painter's tape. So I figured I'd just get started and come up with an idea later.

The first step was to paint the front white. As I was getting started, I decided it would look nice to also paint the inside and bottom trim white for some contrast. The white took two coats to cover the bird and look good. While that was all in process, I came up with an idea for the front design.


I came up with the idea to do a red block T (for our last name) with a white frame inside the larger red of the whole front. I measured the front to figure out the appropriate sizing and drew out my template on graph paper. I put painter's tape on the front covering the approximate dimensions of the white frame. Then I used the measurements from the graph paper drawing to measure out the design on the painter's tape. I used an Xacto knife to cut out the T that would become red. I also covered the trim with tape to keep it white.


Now I was ready to paint again. I mostly used a small foam roller to get a nicer finish without brush lines. I needed three coats to get good coverage of the red. I was pretty psyched because I'd expected to need four, which was what it took to look good on the dining room walls! After the last coat was mostly dry, I used the Xacto knife again to score along the edges where the tape was to help it come off more cleanly. There were some spots where the red had bled through (this always happens to me, which is why I generally don't bother with taping when I'm doing walls; is there some skill to taping that I'm missing? or a better brand? I've tried both the blue and frog brands), but since the paint was still a little tacky, I was able to scrape most of it off with the knife. I was pretty pleased with the result.


Since there were so many coats of paint on there, I let it dry a good long while before putting any cookbooks inside. When I did get around to finally putting it in its new spot, I discovered that not all our cookbooks fit in it. I guess that means it's time to purge out cookbooks that we don't use!

Saturday, September 10, 2016

taking a stand

After getting rid of my old desktop computer, my desk started to feel a little less useful and a little more sad. The drawers and shelves were still super useful, but as far as a usable desk-space, not so much. The desk top is too high for me to comfortably use my laptop there, and while I could set my laptop on the keyboard tray, that felt sort of awkward too. Most of the time, I use my laptop while lounging on the couch, but for extended use, I'm trying to get out of that habit, as I figure my sitting posture there is so bad. There are rare occasions when I work from home, primarily in the winter when our road doesn't get plowed, so I wanted a desk that felt more usable for working on either my home or work laptop. A number of people at my office have been getting standing desks. I haven't jumped on that bandwagon yet at work, but I thought maybe I'd give it a try at home. When thinking about what I wanted in a new home desk, that just felt right.


The problem with this idea, is that standing desks are generally super expensive and don't have any shelves or drawers. My current desk, as you can see from the picture below, has a good amount of storage, which I need because I have too much stuff. I wanted a desk that would still have plenty of storage and wouldn't break the bank. Now, one of the reasons that most standing desks are really expensive is because they're adjustable; they go up and down so you can get it to the correct height or even sit when you want to. I figured for a home workspace that I probably wouldn't use a ton, I didn't need to be able to put it down for sitting; if I get tired of standing, there are plenty of other places in the house I can sit for a bit. So as long as I had a desk that was the appropriate height for me to use a laptop while standing, I didn't need an adjustable desk.
I thought about building my own desk from scratch and started scouring the Internet for plans and ideas. That's when I started finding DIY not-from-scratch standing desks that use various bought pieces to create a desk. Many of the desks I found are made from Ikea shelves. Using shelves to build a desk also solves the storage problem! I found one Ikea hack standing desk that I really liked. Unfortunately, when I went on Ikea's website, they no longer make those exact pieces. Now, to be fair, the page where I found the hack didn't list desk dimensions. In any case, putting together the new, replacement Ikea pieces would have resulted in a desk about 2-3 inches too tall for me. I searched their whole site of shelves to see if I could come up with a different combination that would work. I got close, but the top pieces would have hung over the front and back of the bottom pieces, and I didn't think that would look that great.

Then I remembered a DIY table that I had just seen recently on one of the blogs I read regularly, Thrifty Decor Chick. Her table was shorter, but the idea was just two cube shelves with a tabletop across them. If I could find cube shelves that were the right height, that would work just fine. And I did find them! And also a tabletop that didn't add too much more height, so the final result would still be in the acceptable range!

The cube shelves are by Closetmaid and are 44" tall by 30" wide. I found them in a few places, but ended up buying them on Amazon to get free shipping for some other things I was getting there. Plus I have a credit card with them that gives me points for things I buy on Amazon. The tabletop is from the Container Store. Shipping would have added $20, so we drove to the nearest store about 30 minutes away.

When the cube shelves arrived, I had to assemble them, which went a lot more quickly than I had anticipated. Then Zach helped me set the desktop on top of them and get everything lined up. It turned out that I didn't have wood screws of the right length (some were too short, some were too long), so I had to wait a few days until I had time to get over to Home Depot


In that time, I had the opportunity to think about things some more, and I decided that the shelf backs were more visible than I had expected, and they didn't look good. You know what self-assemble shelf backs look like - unfinished cardboard. So I decided to paint them. At first I thought I would paint them white, since I have a bunch of white paint sitting around. But then I thought that would look weird. Then I thought of black, as I already have that too, but I decided it would be close enough but not quite a match to the shelf color that it wouldn't look very good either. So then I dug up my old Sherwin Williams color fan deck that I've had forever since my sister worked there in college. Zach and I went through it and found a color, Domino, that looked like it would be a really close match to the shelf color. I went over to our local store the next day and got a quart mixed up. 

I decided not to do any primer since that would actually lighten the color I'd be painting onto, which I didn't want to do for such a dark color. I thought I would need two coats, but after the first, I decided that was good enough. Plus, I started getting worried about bubbling and warping the cardboard with too much moisture. 


After the shelf backs were painted, we put the desktop back on. I clamped the top to the shelves, pre-drilled holes, and used 1.5" #8 wood screws to attach the desktop to the cube shelves. That was it! Super simple. Now it's just a matter of getting all my stuff put back on the shelves and getting re-organized, which I'm still working on weeks later :-p I haven't used it a lot, as expected, but I have used it some, and so far, I like having a standing-height desk :-)